Take a look at my upgraded Stirling Engine with its new gas burner and flywheel!
Click here for the full blog post!
If you take a look at my previous post you’ll see how I built a 3D printed holder for my Stirling Engine kit. Since I needed a constant heat source I added a small gas burner salvaged from an old BBQ lighter and attached it to the engine.
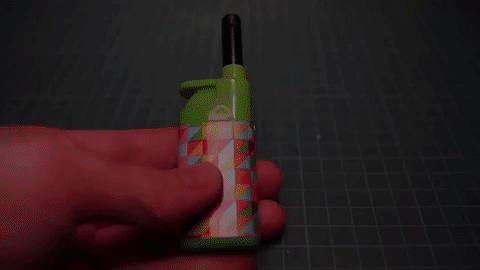
I took apart the BBQ lighter and kept the gas tank. It is refillable and has a small valve at the top which has to be pulled outwards to enable gasflow.

With a little 3D printed holder and some metal parts I was able to put together a simple mechanism to actuacte the gas tank’s valve by turning a screw.

It is easily refilled using standard lighter gas.

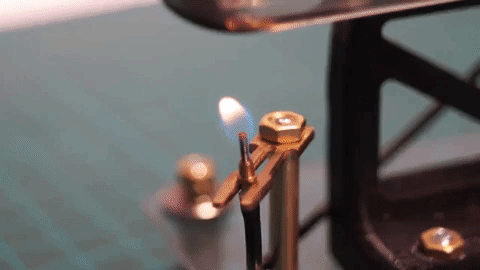
The old nozzle was placed under the glas cylinder and hold in place by metal clamps. A short piece of tubing brings the gas from the tank to the nozzle to provide fuel for the engine’s flame.
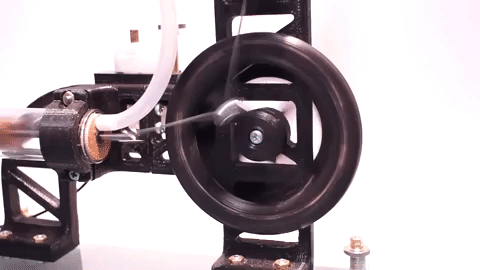
The old flywheel was not heavy enough so I added a scrap piece of metal at the back, not very stylish but enough mass to keep the motor running between its cycles. A simple 3D printed flywheel with metal nuts attached should look better and provide more than enough rotational kinetic energy.
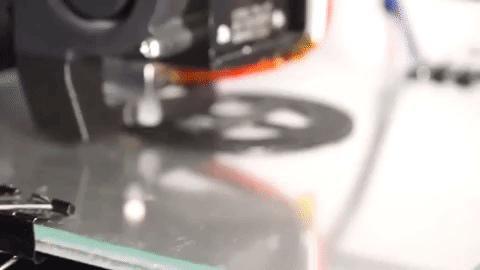
I used my Anet A8 printer and a glass bed to print the flywheel. After adding the nuts the flywheel was ready to be attached to the Stirling Engine.

The motor runs smoothly and it is even possible to adjust speed by increasing or decreasing the flame by turning the screw attached to the gas tank!

There are more fascinating details in the video below:
http://www.doityourselfgadgets.com